
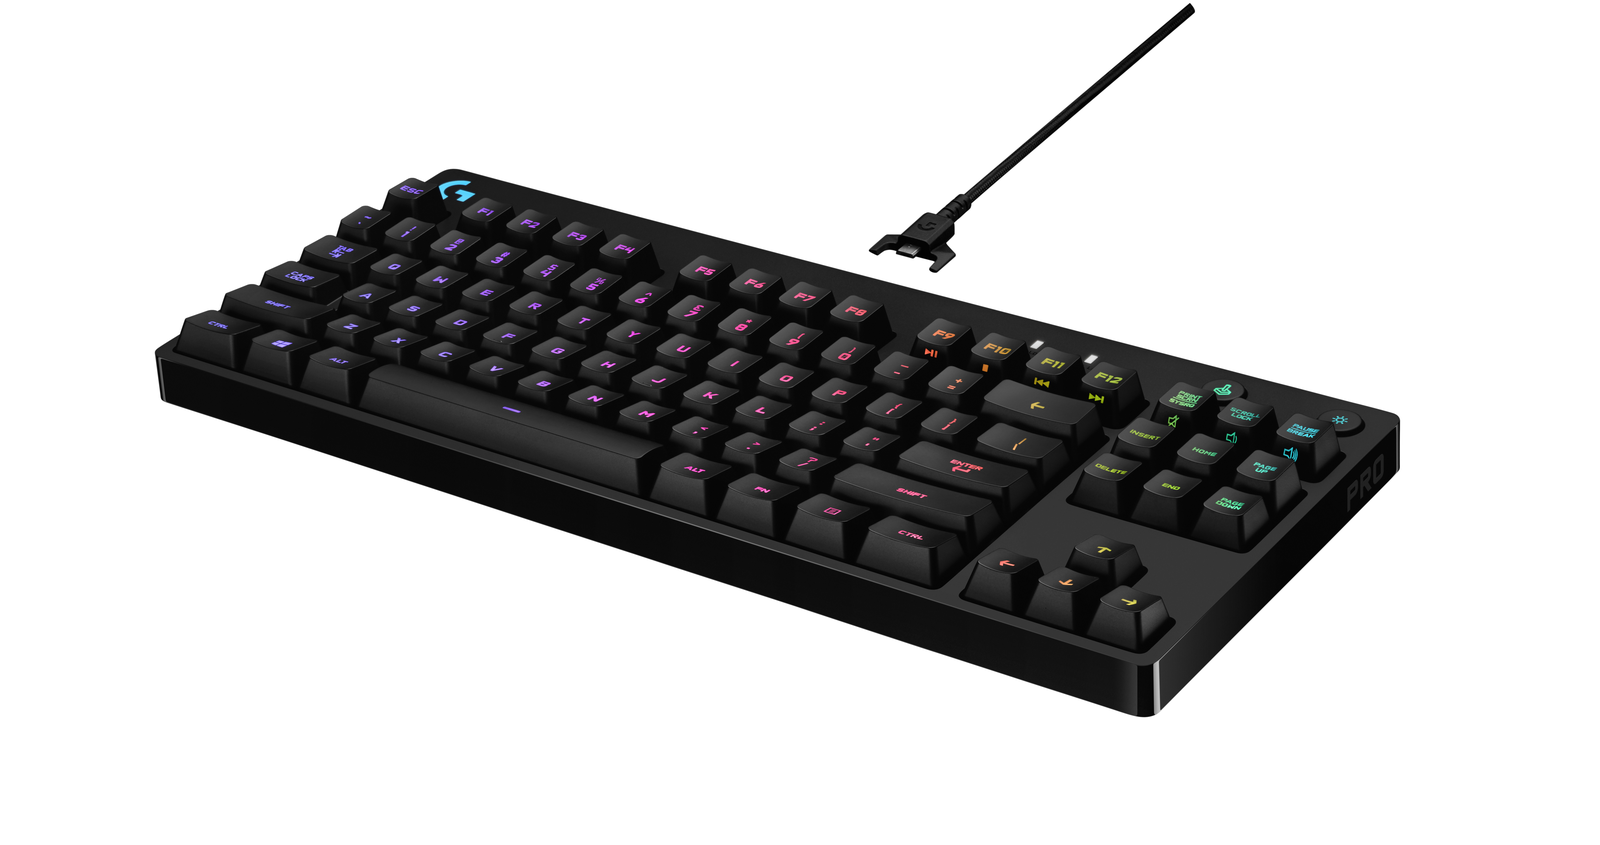
Turn the clock back 8-10 years ago, mechanical keyboards was a relatively niche hobby and not many companies were that interested in producing them. Fast forward to today, and we’re starting to see many mainstream brands like Razer, Corsair, Steel Series, and Logitech create their own mechanical keyboards.
While keyboards from those companies are perfectly fine, we’re going to assume that you’re looking for something more, which is why you’re reading this guide. If you’re looking to dive into the (somewhat expensive) world of custom mechanical keyboards, you’ve come to the right place as this guide will take you through the steps and point you in the right direction on how to get started.
What Makes Up A Mechanical Keyboard?
Now, the process of building a mechanical keyboard can be rather complex as there are many, many factors to consider. However, to simplify the overall process, there are basically five different components that make up a mechanical keyboard.
Case: This determines the size of your keyboard and the form factor that you’re choosing
PCB: This is what “powers” your keyboard. Take note that for the most part, a lot of these PCBs are programmable which means that you can remap the keys according to your own personal preference and style
Keycaps: This is probably one of the most fun aspects of building your own mechanical keyboard as it is probably the most visually obvious part of it.
Switches: This determines the “feel” of your keyboard, like whether you prefer a “clicky” keyboard, a tactile keyboard, or a linear keyboard. Some switches even have the option of being silent in case you want to use it in an office environment and don’t want to disturb your co-workers.
Stabilizers: These are used for longer keys like your Shift key, spacebar, Enter key, and so on. It helps them “balance” due to the fact that they are longer than most other keys on your keyboard.
Plate (optional): This is completely optional because you can build a keyboard without a plate. However, sometimes adding a plate can add stability and also alter the sound and feel of your keyboard, but for beginners, it isn’t 100% necessary but could be worth researching if you’re looking to go deeper into this hobby.
Keyboard Case
When it comes to custom mechanical keyboards, there are various form factors to choose from. In fact, many custom mechanical keyboards actually do not adopt the full-sized layout. If you’ve ever taken a sneak peek at r/MechanicalKeyboards, you’ll notice that many of them come in all manner of sizes, with full-sized keyboards actually being a minority.

Full-Sized Keyboard – This is the standard keyboard that many of us think of and are familiar with. It comes with all the alphanumerical keys, navigation keys, function row keys, arrow keys, and also a number pad.
TKL – The TKL form factor is a slightly more popular one in custom mechanical keyboards compared to a full-sized layout. For the most part, it features all the keys of a full-sized keyboard save for a number pad. Most enthusiasts who need the number pad usually end up building a separate custom one as well.
75% – The 75% basically means that this keyboard is roughly 75% the size of a full-sized keyboard. It is considerably more compact than a TKL but still maintains its function row. One of the more common mechanical keyboards that adopts the 75% layout is the Vortex Race 3.
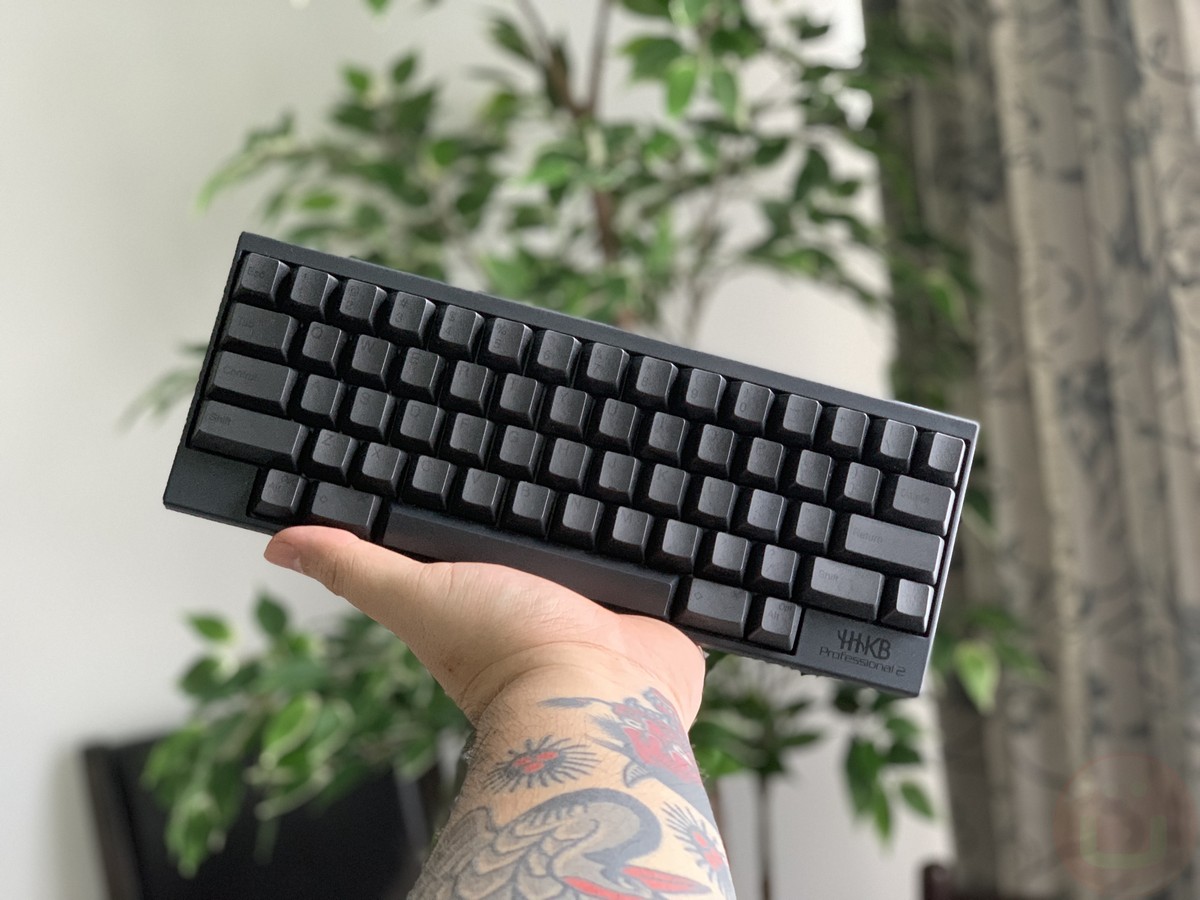
60%/65% – The 60% and 65% keyboards are pretty similar to each other, where they feature alphanumerical keys but ditch the function row entirely. This results in a much more compact design, where the main difference is that the 65% model usually comes with dedicated arrow keys and page navigation keys. A popular option for the 60% layout would be the Vortex Pok3r series.
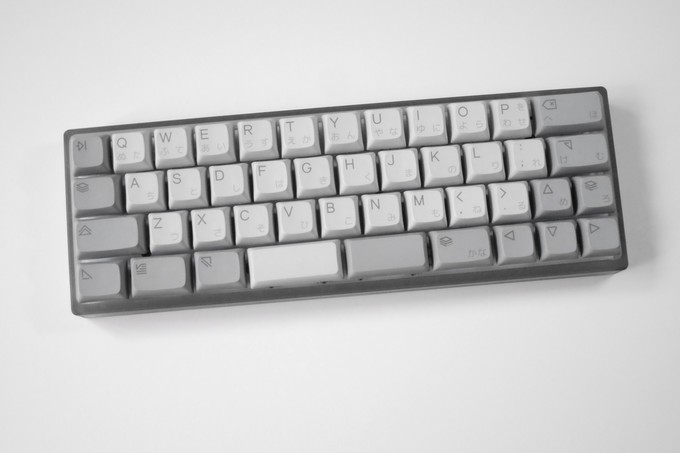
40% – The 40% form factor is typically for more hardcore keyboard enthusiasts who value size above all else. It pretty much ditches all the keys except for the alphabets. A popular choice in this area is the Vortex Core.
Keyboard PCBs
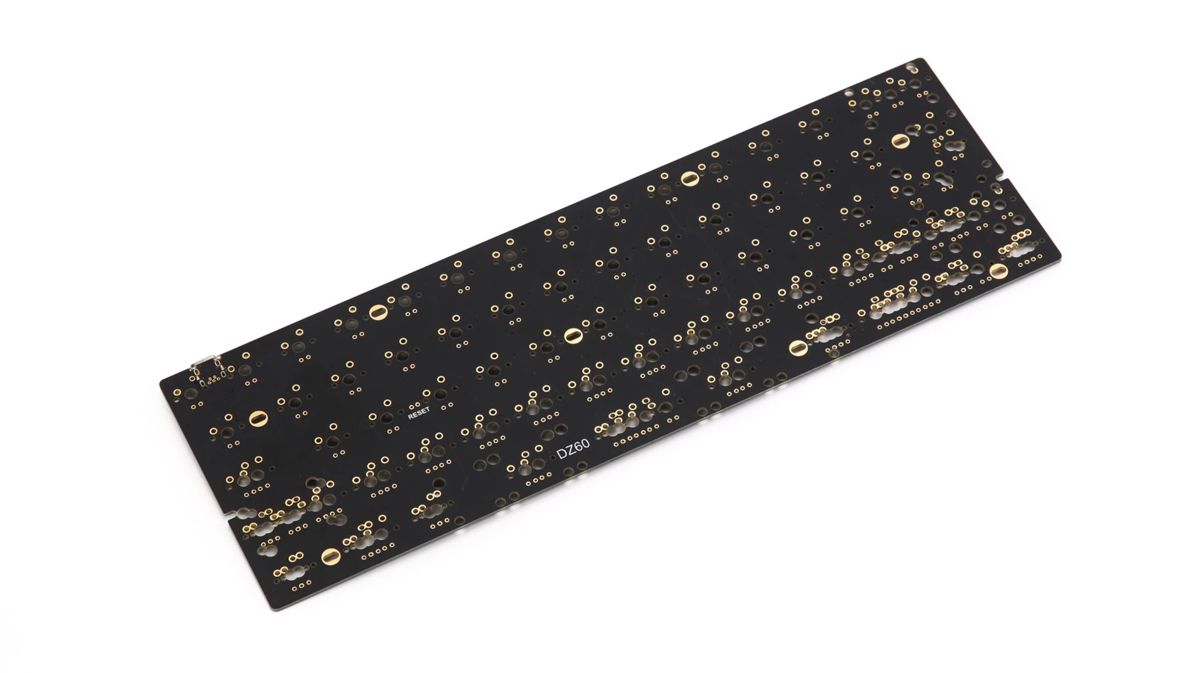
Image credit – KBDFans
Now that you’ve selected your case, you will need to pick a PCB to go with it. Take note that not all PCBs will fit your keyboard, so you will need to do some research to check for compatibility. Also, when it comes to PCBs, in some instances, some vendors might offer hotswappable PCBs.
What this means is that you don’t need to solder your switches into place, but you can just press them in. This gives you the flexibility of changing to a different switch in the future without having to desolder and resolder the new switches. However, there are some who believe that soldered switches offer better longevity, but if you’d rather build a keyboard without all the fuss, looking for a hotswappable PCB might be the way to go.
Also, some PCBs offer RGB lighting while others do not and you might need to solder the RGB lights yourself, so that’s worth taking note of as well.
Choosing The Right Switch For You
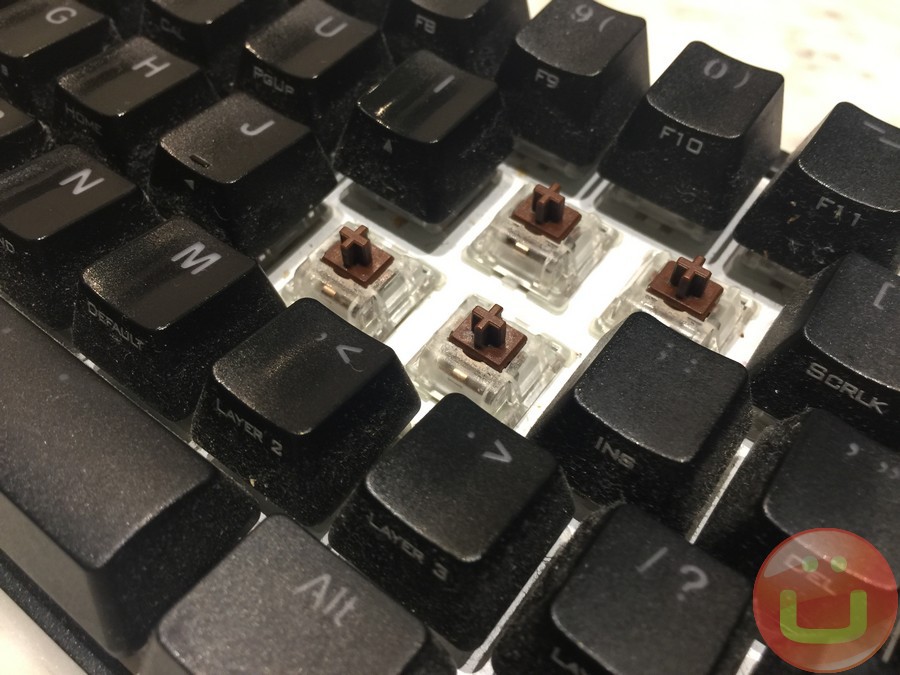
Cherry MX Brown switches
When it comes to mechanical keyboard switches, these are usually split into three types – linear, tactile, and clicky.
Linear – With linear switches, when you press the key, there is no tactile bump at the start of the key press. Instead, with linear switches, when you press on the key, it just goes down straight. Some popular linear switches that you might be familiar with and have heard or seen before would be Cherry MX Blacks or MX Reds.
Tactile – If you prefer more feedback when typing, tactile switches might be of interest to you. Typically with tactile switches, when you press down on it, there will be a small bump before the switch is fully depressed. This usually results in slightly louder typing and might be better for those who are heavy handed. Some common tactile switches that you’ve seen used in mainstream keyboards include the Cherry MX Brown.
Clicky – These switches can be technically considered tactile, but they do come with an additional piece inside the switch that creates the “clicking” sound when you type with them. This is meant to help replicate the sound of typewriter keys. If you enjoy both the physical and auditory feedback when typing, then clicky switches might be for you. The Cherry MX Blue is probably one of the most popular clicky switches in the market right now.
Which Keycap Should You Get?
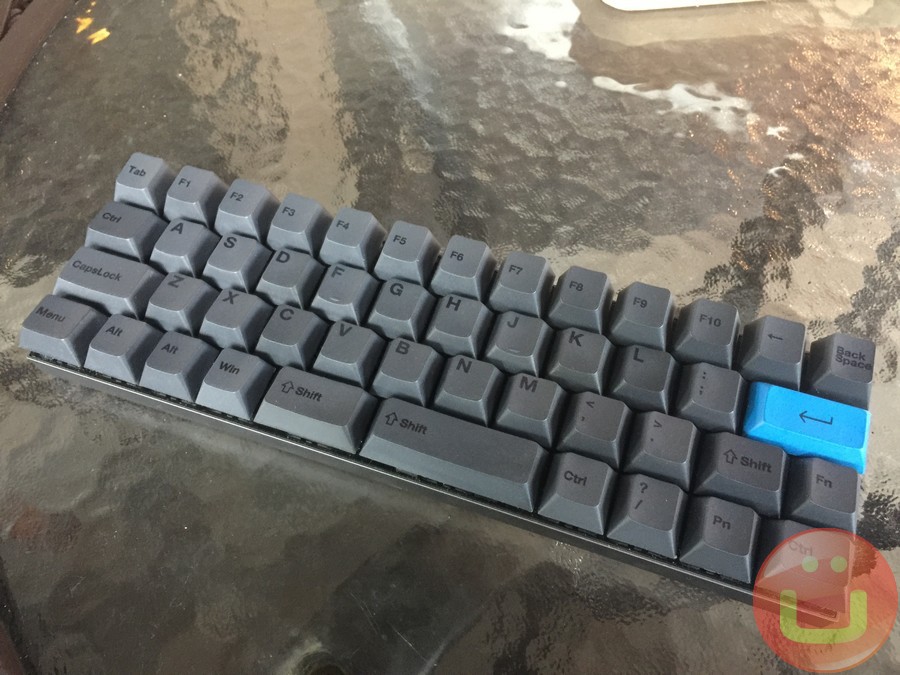
Example of a smaller, non-traditional keyboard layout
One of the fun parts of building a custom mechanical keyboard is being able to pick your own keycaps. Given that the keycaps are what you’ll be looking at most of the time, it’s important to pick one that you like. Unfortunately, similar to keyboard cases, a lot of keycaps tend to be run as groupbuys and more often than not, once you’ve missed the boat on these, you’ll probably never see them run again.
Keycaps also come in different “profiles”. For the most part, the majority of mechanical keyboards being sold today by the likes of Razer or Logitech typically use what is known as “OEM” or “Cherry” profile keyboards.
There are other profiles such as SA which are taller and resemble typewriter style keys, and there are also XDA profile keycaps which are flatter. There is no “better” profile and it all depends on your personal preference and the aesthetic that you’re trying to go for.
Stabilizers
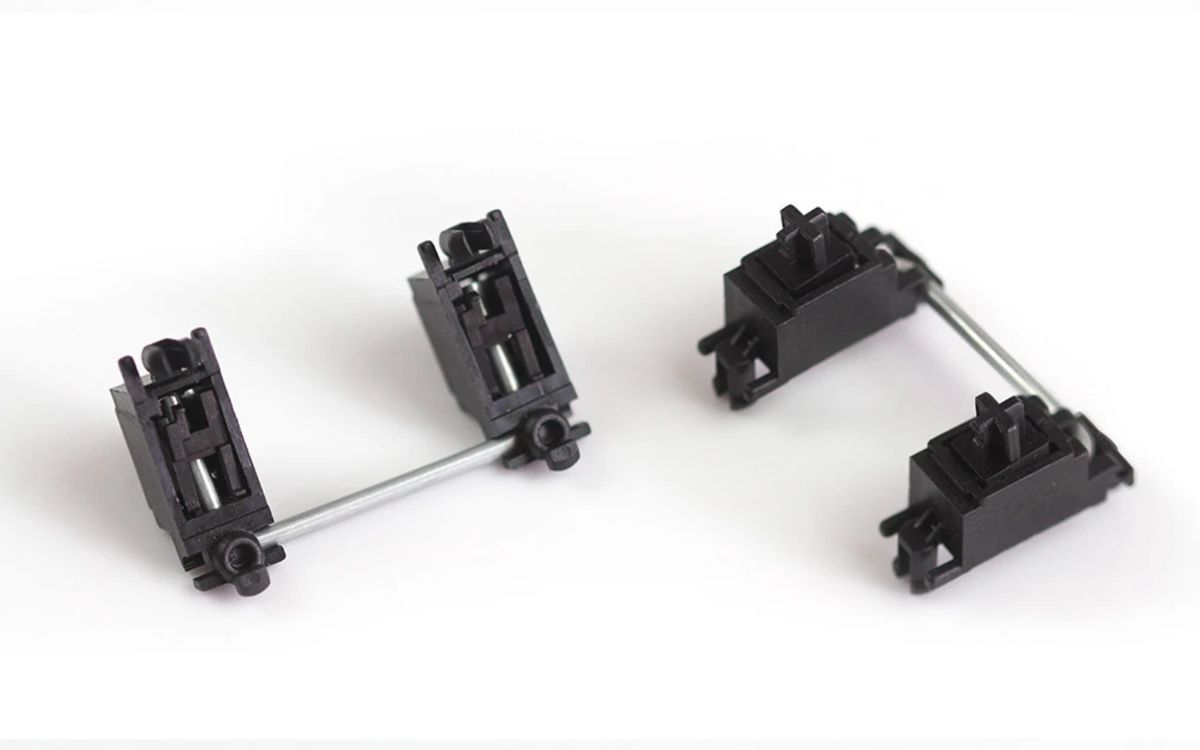
Image credit – KBDFans
Like we said, stabilizers are used to balance out longer keys. These are essential for keyboards and for the most part, all the stabilizers sold out there are good enough to get the job done. Some enthusiasts might prefer certain brands over others, but if you’re looking to build your first mechanical keyboard, you can’t really go wrong with Cherry stabilizers.
Note that when picking a stabilizer, sometimes they are sold as either plate or PCB mounted stabilizers. If you’re building without a plate, then opt for the latter.
Where Can I Buy All These Parts?
The problem with custom mechanical keyboards is that it is a rather niche hobby. This means that for the most part, a lot of the more fancy boards you see on Reddit are typically run as group buys. This means that the seller will take orders for a period of time (usually a month) before sending those orders to the manufacturer.
This is because with it being such a niche hobby, it’s hard to determine how many people would actually buy a particular keyboard or keycap set, so it doesn’t make sense for a seller to keep them in inventory. That being said, there are still several vendors that do sell ready-stock parts, but your choices might be limited.
Some vendors worth checking out include:
Conclusion
It might seem a bit overwhelming to try and build your first mechanical keyboard, so hopefully this guide will have provided you with enough information to get you started on your first custom! Alternatively, you could always start simple by purchasing a pre-built mechanical keyboard and slowly swap out parts. Starting with the keycaps is a great way to begin the customization process.
How To Build A Custom Mechanical Keyboard , original content from Ubergizmo. Read our Copyrights and terms of use.


Post a Comment